Table of Contents
- Step 1: Start Your Search Early and Know Your Timeline
- Step 2: Verify Licensing, Insurance, and Safety Standards
- Step 3: Questions to Ask Holiday Light Installers
- Step 4: Use a Professional Holiday Lighting Installation Checklist
- Step 5: Review Estimates and Compare Proposals
- Step 6: Check References and Customer Reviews
- Step 7: Confirm Final Details Before Installation
- Frequently Asked Questions
Last Updated: September 23, 2026
Step 1: Start Your Search Early and Know Your Timeline
Finding reliable holiday light installers starts with one simple fact: the best crews book up fast. Most installations happen between mid-October and mid-December, and availability shrinks quickly as the season approaches. Starting your search in August or September gives you access to experienced crews and scheduling flexibility.
Know your scope before calling: entire home, roofline only, wrapped trees, pathway lighting, or a combination. This helps installers give accurate timelines and helps you compare proposals.
Start conversations at least 60 days before your desired installation date to gather estimates and make an informed decision without rushing.
Mark your calendar now. If you want installation by Thanksgiving, your deadline to contact installers is mid-September. For early December, aim for late September or early October.
Step 2: Verify Licensing, Insurance, and Safety Standards
Any professional holiday light installer should carry liability insurance and workers’ compensation coverage. If someone is injured or damage occurs, you need protection.
Understanding Insurance Requirements
Ask for a certificate of insurance showing general liability coverage of at least $1 million, with your address listed as “additional insured.”
Workers’ compensation is equally important and covers crew injuries. Ask whether the installer carries it individually or through a larger company’s policy, either is acceptable.
Verify the policy is active through January, your address is listed as additional insured, and coverage amounts match the quote. If an installer hesitates or claims they don’t need insurance for seasonal work, that’s a disqualifying red flag.
Safety Standards and Working at Heights
Licensing varies by location. Your installer should understand local electrical codes and safety standards for outdoor installations.
Ask whether they use fall protection equipment above 6 feet, how they secure lights against wind and ice, and what their protocol is if weather becomes unsafe. An installer who can’t articulate these practices hasn’t thought through safety.
Contractual Red Flags to Avoid
Before signing, review the contract for these problematic clauses:
No cancellation policy. A fair contract allows rescheduling without penalty if the installer cancels. Negotiate if the contract says “all deposits are non-refundable under any circumstance.”
Vague liability language. The contract should state the installer is responsible for damage caused by their crew. Avoid “customer assumes all risk.”
No warranty in writing. If the installer verbally promises a warranty but it’s not in the contract, it doesn’t exist legally. Warranty terms, what’s covered, how long, what you need to do to claim it, must be in writing.
Undefined scope of work. The contract should specify number of strands, color, wattage, placement, and additional services. If it just says “holiday lighting installation,” request an addendum detailing the scope.
No weather contingency clause. The contract should specify rescheduling terms if weather makes installation unsafe.
Payment terms that favor the installer. A balanced approach is 50% deposit and 50% on completion. Full payment upfront is a risk.
If a contract avoids these details or uses language that shifts all risk to you, do not sign. Professional installers are transparent about liability, warranty, and what happens if things go wrong.
Step 3: Questions to Ask Holiday Light Installers
The questions you ask reveal whether you’re talking to a professional or someone just trying to make a quick sale. These conversations matter more than you might think.
Experience and Past Projects
Ask how long they’ve been installing holiday lighting and request photos of past work matching your property type and size.
Warranty and Post-Installation Support
Ask whether warranty covers lights, installation work, or both, and how long it lasts. Clarify what maintenance is included and whether removal is included or costs extra.
If an installer avoids questions about warranty or maintenance, move on. Professional crews are transparent about what they guarantee and what they don’t.
Pricing and Hidden Costs
Ask for a detailed estimate breaking down labor, materials, and services. Clarify what’s included and what costs extra. Ask about seasonal pricing adjustments.
Step 4: Use a Professional Holiday Lighting Installation Checklist
Before you sign anything, use this checklist to evaluate whether you’re ready to move forward with an installer.
- Installer has liability insurance (verified), Certificate received?
- Installer has workers’ compensation (verified), Proof on file?
- References checked and positive, Called at least 2 references?
- Estimate is detailed and itemized, Covers labor, materials, services?
- Timeline for installation confirmed, Specific dates discussed?
- Warranty terms in writing, Coverage and duration clear?
- Safety practices discussed, OSHA standards mentioned?
- Takedown and removal plan clear, Included or additional cost?
- Design consultation completed, Digital mock-up provided?
- Contract reviewed before signing, All terms understood?
This checklist ensures you’ve covered the essential questions before installation day arrives.
The best time to ask tough questions is before you sign. Once work begins, you have less use. Get everything in writing.
Step 5: Review Estimates and Compare Proposals
Get estimates from at least two installers to understand what’s typical and spot outliers.
Comparing Apples to Apples
Compare apples to apples, accounting for differences in services. Ask why drastically different designs are proposed. Red flag: estimates significantly lower than others, ask what’s different. Unrealistic pricing often leads to mid-season problems.
Understanding LED vs. Incandescent and Energy Costs
One major cost variable that installers often don’t explain clearly is the type of bulbs being used. This affects both upfront cost and long-term energy consumption.
LED lights are now the standard for professional installations. They consume about 80% less energy than traditional incandescent lights, generate minimal heat, last significantly longer (50,000+ hours vs. 1,000 hours for incandescent), and are more durable in cold weather. The upfront cost is higher, but the energy savings and durability make them more economical over a season or multiple seasons.
Incandescent lights are cheaper upfront but draw substantially more power. If your installation uses 500 feet of incandescent strands running 8 hours per day for 60 days, you’re looking at meaningful electricity costs. LED strands of the same length cost less to operate and won’t overheat in bundled sections.
When comparing estimates, ask: “What type of bulbs are included?” If one estimate is significantly cheaper and uses incandescent while others use LED, that explains the difference. Ask the installer to clarify the bulb type, wattage per strand, and estimated energy consumption if the lights run continuously.
Material Quality and Installation Labor
Beyond bulbs, estimates should specify:
Wire gauge and connector quality. Professional-grade outdoor wire is UV-resistant and rated for cold temperatures. Cheap extension cords or indoor-rated wire will degrade faster and pose safety risks. Ask whether the estimate includes outdoor-rated wire and weatherproof connectors. Ensuring these components meet safety standards requires a systematic approach to vetting electrical contractors before any installation begins.
Mounting hardware. How are lights being secured? Clips, hooks, or adhesive? Professional installers use stainless steel or coated hardware that won’t rust. Cheap plastic clips break in cold weather.
Labor hours. A detailed estimate should specify how many crew members and how many hours are budgeted. If one installer quotes 4 hours and another quotes 12 hours for the same scope, ask why. More hours might mean a more thorough job; fewer hours might mean corners are being cut or the crew is rushing.
Payment Terms and Deposit Structure
Ask about payment terms. Do they require a deposit? When is the balance due? Reputable installers typically ask for a deposit to secure your booking and the remainder on completion or within a few days after.
Be cautious of:
- Installers who demand full payment upfront before any work begins.
- Installers who won’t accept payment until weeks after installation is complete.
- Vague payment terms (“we’ll bill you later”).
A clear payment structure protects both you and the installer. It shows they’re organized and professional.
The best estimate isn’t always the cheapest. It’s the one that clearly specifies materials, labor, timeline, and warranty, and that you trust to deliver on those promises.
Step 6: Check References and Customer Reviews
A professional holiday light installer should have references ready. Ask for at least two recent customers you can contact. Call them. Ask about their experience with the installation, whether the crew showed up on time, whether the work was clean, and whether they’d hire the installer again.
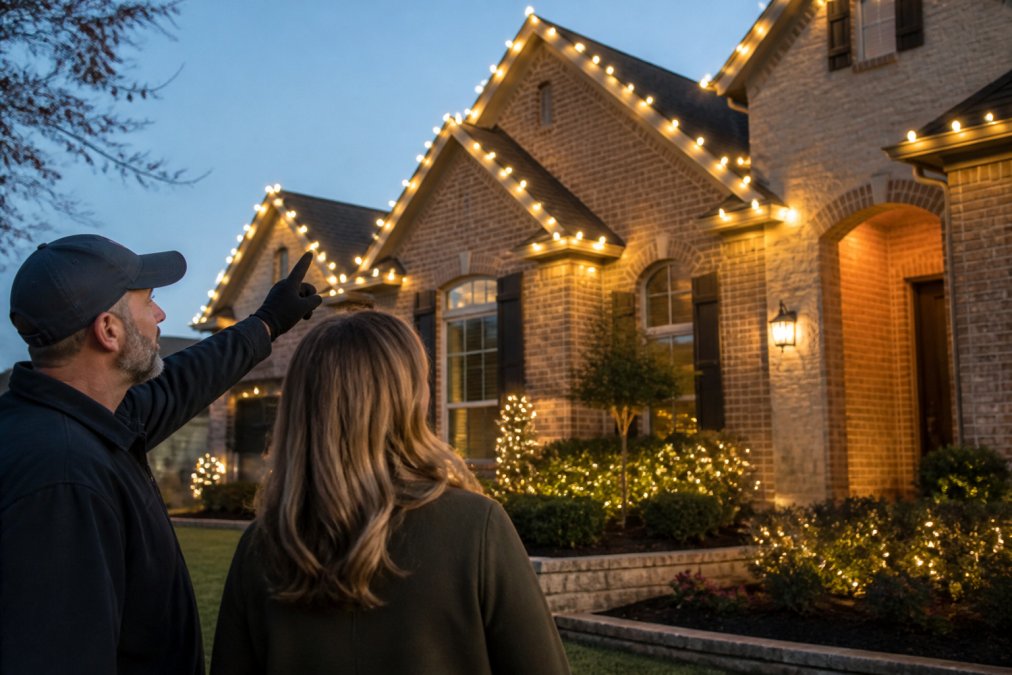
Online reviews tell part of the story, but direct references are more valuable. A customer who had a specific problem and saw how the installer handled it can tell you more than a star rating.
What to ask references:
- Did the installer arrive on the scheduled date?
- Was the crew professional and respectful of your property?
- Did the installation look like the estimate promised?
- Have you had any issues since installation?
- Would you hire them again?
Step 7: Confirm Final Details Before Installation
Once you’ve chosen an installer, confirm everything in writing. This protects both you and the crew.
Frequently Asked Questions
How early should I book professional holiday light installation?
Book 6-8 weeks before your desired installation date. Peak booking season runs from September through October, when reliable holiday light installers fill their schedules quickly. Early booking ensures you get your preferred dates and avoid last-minute rush fees. If you’re booking in November, confirm availability immediately, as many installers are fully booked by mid-November.
What questions should I ask holiday light installers before hiring?
Ask about their licensing and insurance coverage, years of experience with residential or commercial properties similar to yours, warranty terms and what’s covered, timeline for completion, whether they provide design consultations, what happens if lights malfunction after installation, and their take-down service schedule. Also ask for references from recent projects and clarify whether pricing includes all labor, materials, and equipment removal.
What should a professional holiday lighting installation checklist include?
Your checklist should cover: verification of licensing and insurance, review of past project photos, confirmation of LED technology used, written estimate with itemized costs, timeline and weather contingencies, design consultation details, warranty documentation, maintenance plan options, and take-down service terms. Include questions about electrical safety compliance, property assessment procedures, and whether the installer offers digital mock-ups of your display before work begins.
Are professional holiday light installers required to be insured?
Yes, reliable installers carry general liability insurance and workers’ compensation coverage. This protects you if someone is injured during installation or if property damage occurs. Always request proof of current insurance before signing any agreement. Insurance coverage should clearly state what’s protected, typically labor, equipment, and liability claims. Never hire an uninsured installer, as you could be liable for accidents or injuries on your property.